Angular
- Versions of Angular
- Installing Angular cli using terminal
- Look at this page for help
- Create a project
- Serve your project
- Anatomy of an Angular project
- Components, Modules and Services in Angular
- Promises and Observables in Angular
- How to use Cookies in Angular - Install Cookies Dependency - Import the CookieService inside the app.component.ts file - import the CookieService inside one of our modules and add them as a provider - Use the CookieService in AppComponent - Method of Cookies in Angular
- String interpolation and property binding in Angular
- Event binding
- Inputs and Outputs
- Two-way binding
- Directives
- Forms
- Routing
- Tags
https://www.simplilearn.com/tutorials/angular-tutorial/angular-interview-questions
Versions of Angular
Angular 1 is also called AngularJS. Everything after Angular 1 is just Angular. After 1, it doesn’t matte what version it is. It is still just “Angular”. You need to keep track of latest version releases. But it is still called Angular.
Installing Angular cli using terminal
npm install -g @angular/cli
Look at this page for help
https://github.com/angular/angular-cli
Create a project
Create a directory manually.
And run this command: ng new demo
If all the installations and versions (npm, Node.js) are ok, this should create a new Angular project for you.
Open the project in your favorite editor.
Serve your project
ng serve
You should see the port number in the terminal. For Angular, usually it is: http://localhost:4200/
Anatomy of an Angular project
Look at the src folder.
Components, Modules and Services in Angular
Components, modules and services are the three fundamental building blocks in Angular. Components are the smallest, self-contained units in an Angular application. They are typically used to represent a view or UI element, such as a button or a form input field.
Components
Angular is all about Components. So, usually all the learning (and teaching) starts with Components.
https://angular.io/guide/component-overview
Components are the main building block for Angular applications. Each component consists of:
- An HTML template that declares what renders on the page
- A TypeScript class that defines behavior
- A CSS selector that defines how the component is used in a template
- Optionally, CSS styles applied to the template
Components are the basic building blocks of the user interface in an Angular application. Every component is associated with a template and is a subset of directives. An Angular application typically consists of a root component, which is the AppComponent, that then branches out into other components creating a hierarchy.

example
import { Component } from '@angular/core';
@Component({
  selector: 'app-root',
  templateUrl: './app.component.html',
  styleUrls: ['./app.component.css']
})
export class AppComponent {
  title = 'demo';
}
Create a new component
$ ng generate component components/example/example-test
To not include the test.ts file in the generated component
$ ng generate component components/example/example-test --spec false
The advantage with using the cli command is, it will generate all the niceties for us. The shell for the component and the necessary pre-wiring.
After running this, if you look at app.module.ts, you should see that the new component is already registered with AppModule (declarations and import statements).
Component lifecycle - Lifecycle hooks
https://angular.io/guide/lifecycle-hooks
In Angular, every component has a lifecycle. Angular creates and renders these components and also destroys them before removing them from the DOM. This is achieved with the help of lifecycle hooks. Here’s the list of them -
ngOnChanges()- Responds when Angular sets/resets data-bound input properties.ngOnInit()- Initialize the directive/component after Angular first displays the data-bound properties and sets the directive/component’s input properties/ngDoCheck()- Detect and act upon changes that Angular can’t or won’t detect on its own.ngAfterContentInit()- Responds after Angular projects external content into the component’s view.ngAfterContentChecked()- Respond after Angular checks the content projected into the component.ngAfterViewInit()- Respond after Angular initializes the component’s views and child views.ngAfterViewChecked()- Respond after Angular checks the component’s views and child views.ngOnDestroy()- Cleanup just before Angular destroys the directive/component.
Modules
All the Components that are created in the application need to be imported into the main Module. You would usually see the AppComponent being imported because it is the most common approach. By doing that, you are telling Angular what the main component is.
Modules are larger units that group together one or more related components. Services are singleton objects that provide specific functionality throughout an Angular application, such as data access or logging.
example
import { BrowserModule } from '@angular/platform-browser';
import { NgModule } from '@angular/core';
import { AppComponent } from './app.component';
import { TestComponent } from './test/text.component';
@NgModule({
  declarations: [
    AppComponent,
    TestComponent
  ],
  imports: [
    BrowserModule
  ],
  providers: [],
  bootstrap: [AppComponent]
})
export class AppModule { }
Each component in Angular has its own isolated scope. This means that a component’s dependencies (services, other components, etc.) are not accessible to any other component outside of its own scope. This isolation is important for ensuring modularity and flexibility in an Angular application.
Services
Services, on the other hand, are not isolated and can be injected into any other unit in an Angular application (component, module, service, etc.). This makes them ideal for sharing data or functionality across the entire app.
example
import { Injectable } from '@angular/core';
@Injectable({
  providedIn: 'root'
})
export class TestServiceService {
  constructor() { }
}
When designing an Angular application, it is important to keep these three building blocks in mind. Components should be small and self-contained, modules should group together related components, and services should provide shared functionality across the entire app. By following this design principle, you can create an Angular application that is modular, flexible, and easy to maintain.
Promises and Observables in Angular
While both the concepts deal with Asynchronous events in Angular, Promises handle one such event at a time while Observables handle a sequence of events over some time.
Promises
They emit a single value at a time. They execute immediately after creation and are not cancellable. They are Push errors to the child promises.
Observables
They are only executed when subscribed to them using the subscribe() method. They emit multiple values over a period of time. They help perform operations like forEach, filter, and retry, among others. They deliver errors to the subscribers. When the unsubscribe() method is called, the listener stops receiving further values.
How to use Cookies in Angular
https://www.tutorialswebsite.com/how-to-use-cookies-in-angular/
Install Cookies Dependency
Use the NPM package for Angular called ngx-cookie-service that can be used for cookie use.
Install the cookies dependency
npm install ngx-cookie-service
Import the CookieService inside the app.component.ts file
import { CookieService } from 'ngx-cookie-service';
import the CookieService inside one of our modules and add them as a provider
example
import { BrowserModule } from '@angular/platform-browser';
import { NgModule } from '@angular/core';
import { AppRoutingModule } from './app-routing.module';
import { AppComponent } from './app.component';
@NgModule({
  declarations: [AppComponent],
  imports: [BrowserModule],
  providers: [CookieService],
  bootstrap: [AppComponent]
})
export class AppModule { }
Use the CookieService in AppComponent
Notice how it is getting injected into the constructor.
import { Component} from '@angular/core';
import {CookieService} from 'ngx-cookie-service';
@Component({
  selector: 'app-root',
  templateUrl: './app.component.html',
  styleUrls: ['./app.component.css'],

})
export class AppComponent {
 private cookie_name='';
 private all_cookies:any='';
 constructor(private cookieService:CookieService){}
 setCookie(){
   this.cookieService.set('name','Tutorialswebsite');
 }
 deleteCookie(){
   this.cookieService.delete('name');
 }
 deleteAll(){
   this.cookieService.deleteAll();
 }
 ngOnInit(): void {
   this.cookie_name=this.cookieService.get('name');
   this.all_cookies=this.cookieService.getAll();  // get all cookies object
 }
}
Method of Cookies in Angular
- Check :- Used to check cookies exits or not
- Set :- Used to set the value in cookies with name
- Get :- Used to return the single value of stored cookies name
- Get All :- Used to return a value object of all cookies
- Delete :- Used to delete the single cookies value with the given name
- Delete All :- Used to delete all the cookies
String interpolation and property binding in Angular
String interpolation
Interpolation is used to just display a piece of data in HTML, such as displaying a title or a name.
Property binding
https://angular.io/guide/property-binding
Helps you set values for properties of HTML elements or directives. Use property binding to do things such as toggle button features, set paths programmatically, and share values between components.
Property binding lets us bind a property of a DOM object, for example the hidden property, to some data value. This can let us show or hide a DOM element, or manipulate the DOM in some other way.
Flow of data
Property binding moves a value in one direction, from a component’s property into a target element property.
Binding to a property
In src/app/app.component.ts
itemImageUrl = '../assets/phone.svg';
In src/app/app.component.html
<img alt="item" [src]="itemImageUrl">
Differences
When rendering data values as strings, there is no technical reason to prefer one form to the other.
If we want data values as boolean or other than string then we should go for property binding.
Event binding
https://angular.io/guide/event-binding
Event binding lets you listen for and respond to user actions such as keystrokes, mouse movements, clicks, and touches.
<button (click)="onSave()">Save</button>
The event binding listens for the button’s click events and calls the component’s onSave() method whenever a click occurs.
In this example, click is the “target event name” and onSave() is the “template statement”.
https://developer.mozilla.org/en-US/docs/Learn/JavaScript/Building_blocks/Events
Inputs and Outputs
https://angular.io/guide/inputs-outputs
A common pattern in Angular is sharing data between a parent component and one or more child components. Implement this pattern with the @Input() and @Output() decorators.
Two-way binding
Two-way binding gives components in your application a way to share data. Use two-way binding to listen for events and update values simultaneously between parent and child components.
Directives
https://angular.io/guide/built-in-directives
Forms
https://angular.io/guide/forms-overview
npm bootstrap provides some good samples for this.
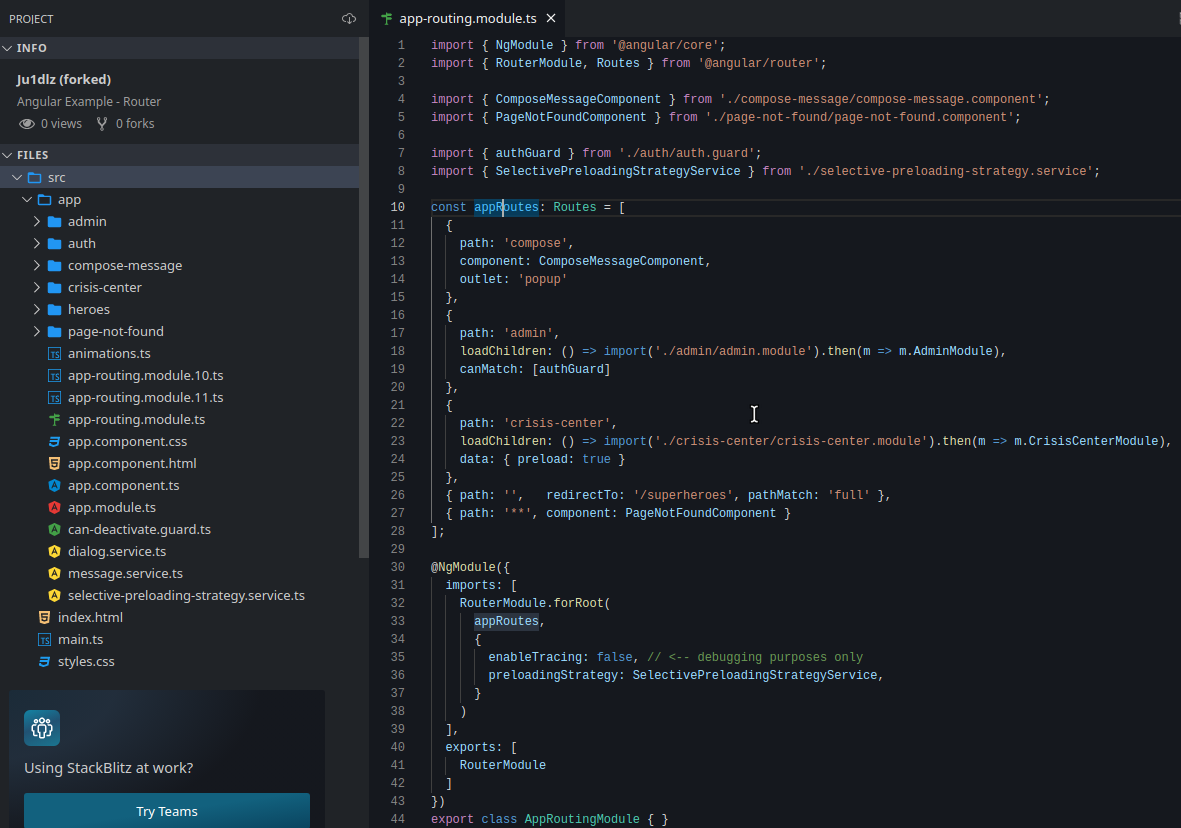
Routing
https://angular.io/guide/routing-overview